THE PLANNING GUIDES · PERSONAL PHOTOGRAPHY
Plan your personal photography session
From a first idea to one useful session inquiry. A screenshot walkthrough of the personal planner and Vision Board.
Step-by-step guide · October 20, 2026 · Screenshots of the live site
Reference links, notes and choices can travel with the inquiry or shared link. Uploaded pictures and screenshots stay in the originating browser; they are not attached to the inquiry. Use Print or save PDF and check the exported file to retain pictures. Browser storage may be cleared or unavailable; a shared link is not a secure cloud backup.
Start at https://www.lynchvisualworks.com/personal
Start with your service page
Choose the guided planner
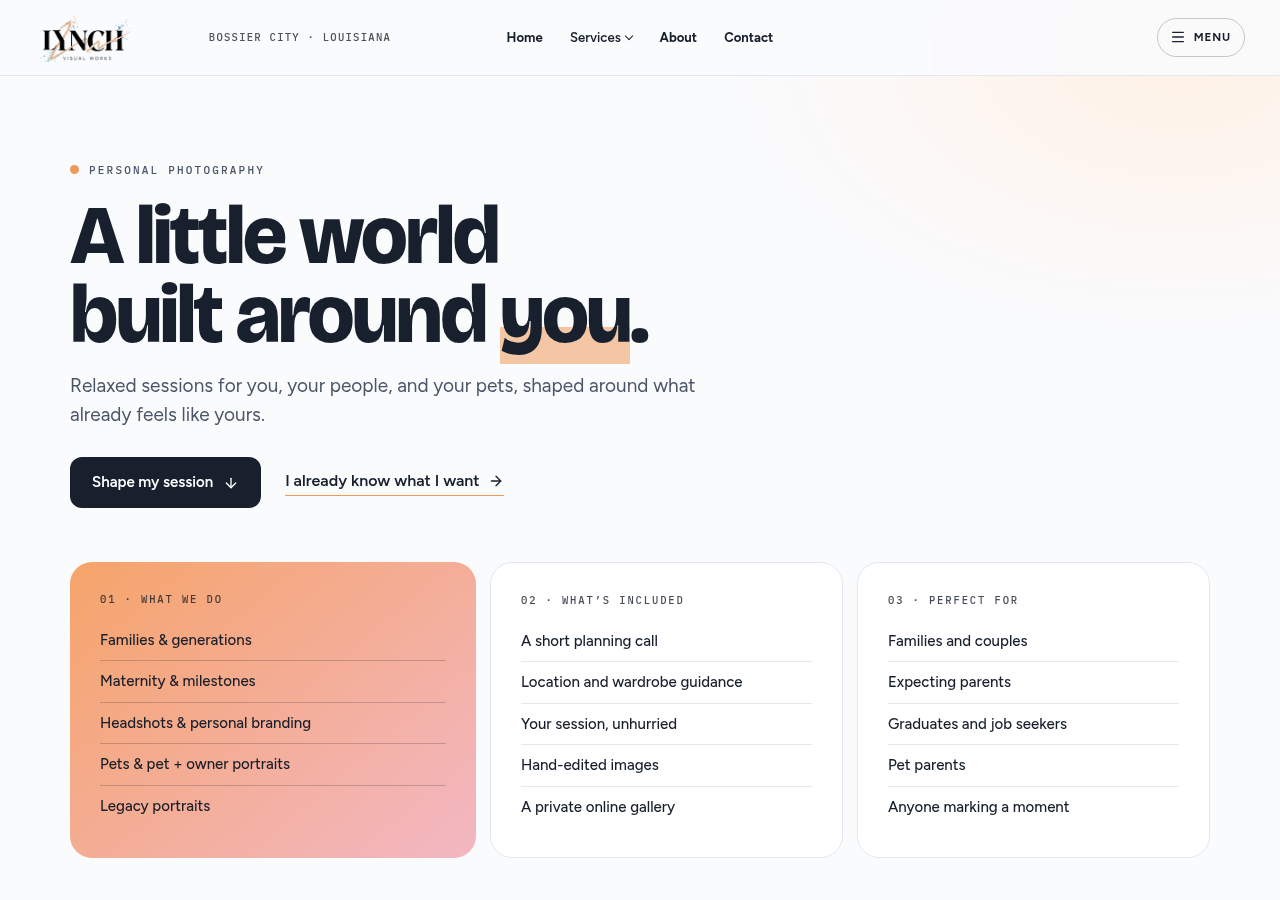
Open /personal. Use Plan my session to begin planning. If you already know exactly what you need, the direct inquiry remains available; choose one route rather than sending the same project twice.
Start the planner; do not submit an inquiry yet.
Choose what you are planning
Give the session a starting point
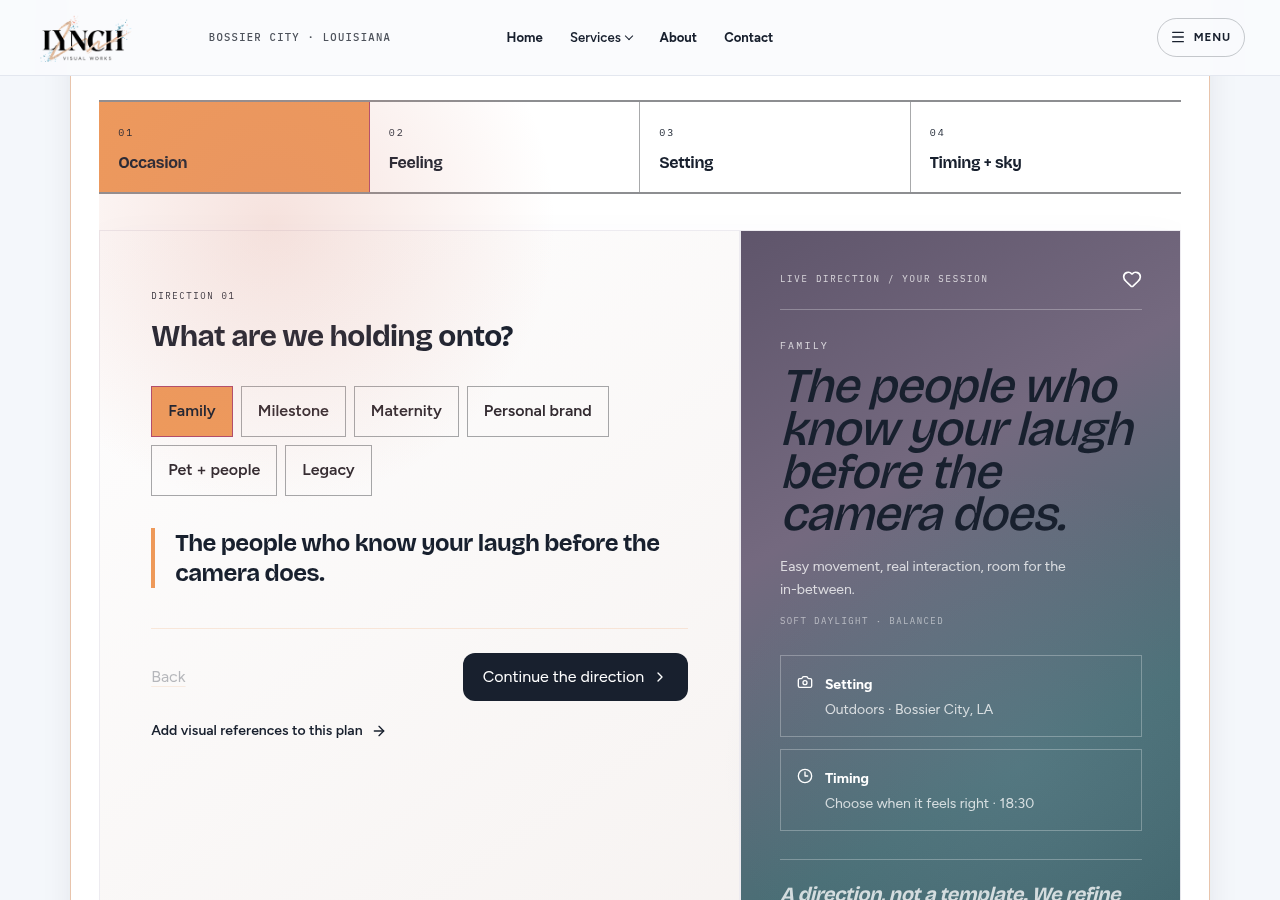
Choose an occasion such as family, maternity, headshots or a milestone. You can refine the details later. These choices help LVW understand the assignment; they do not reserve a date or create a booking.
Choose the closest fit, even if you are still deciding.
Shape the direction
Explain the feeling and purpose
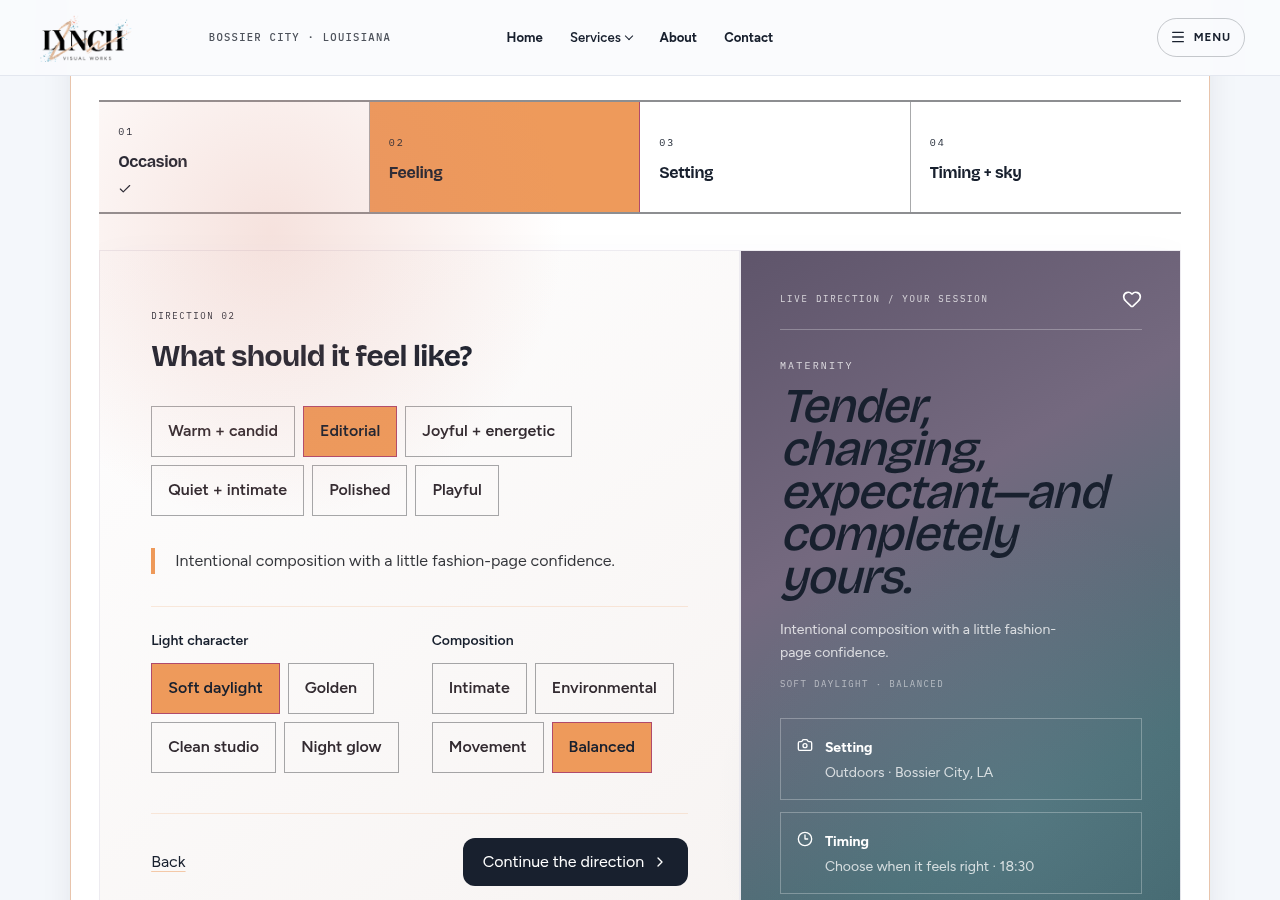
Choose the feeling, lighting, composition and setting that fit your session. Use the available choices to communicate what matters. You do not need to know photography terminology or arrive with a finished creative brief.
Think about what the photographs need to communicate.
Add practical details
Continue to the Vision Board
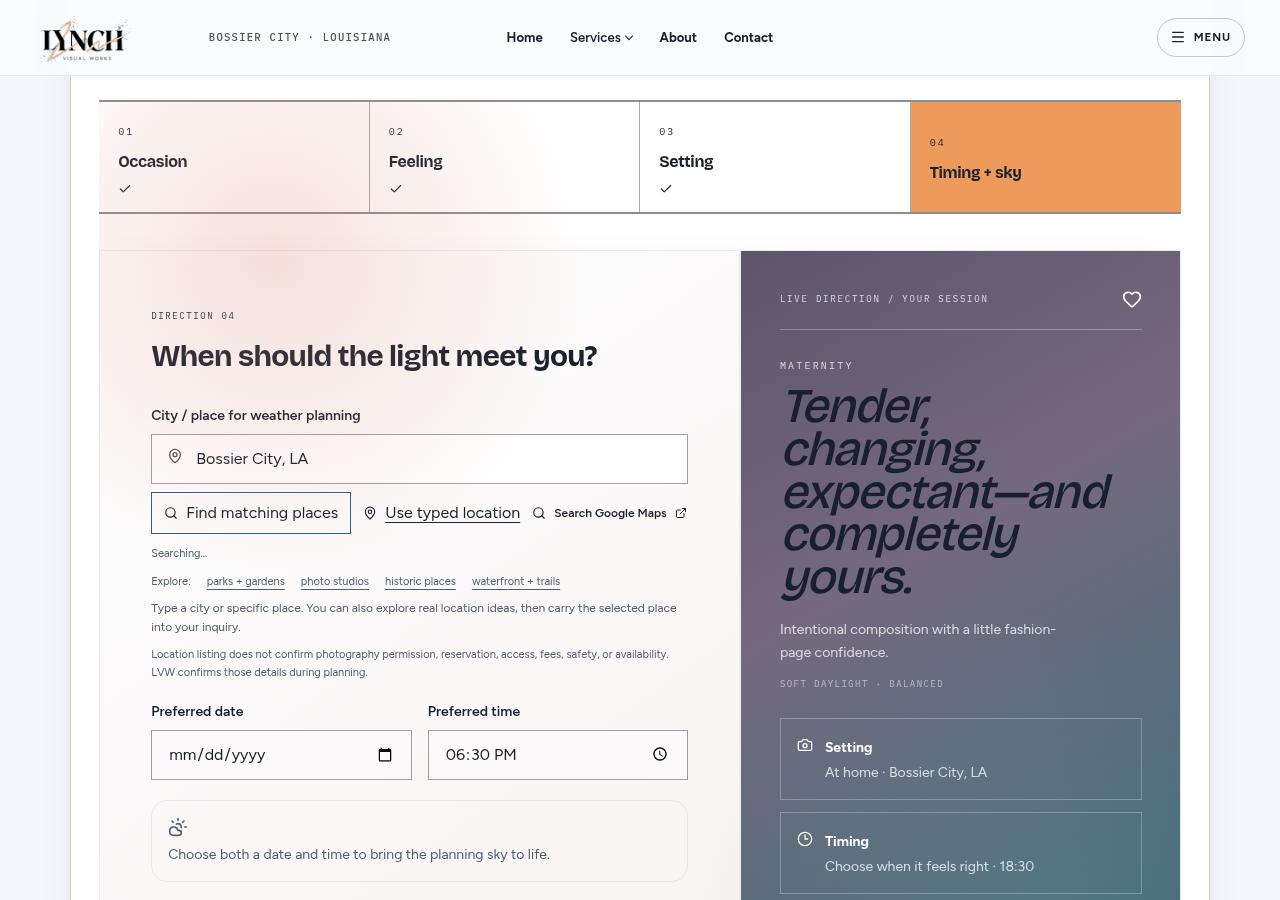
Enter the location, date and timing you know. Leave uncertain details open. Select Continue to the vision board: your choices travel with you, and no inquiry has been sent at this point.
Continue to step two before sending your project.
Make the board yours
Add images, screenshots, links or notes
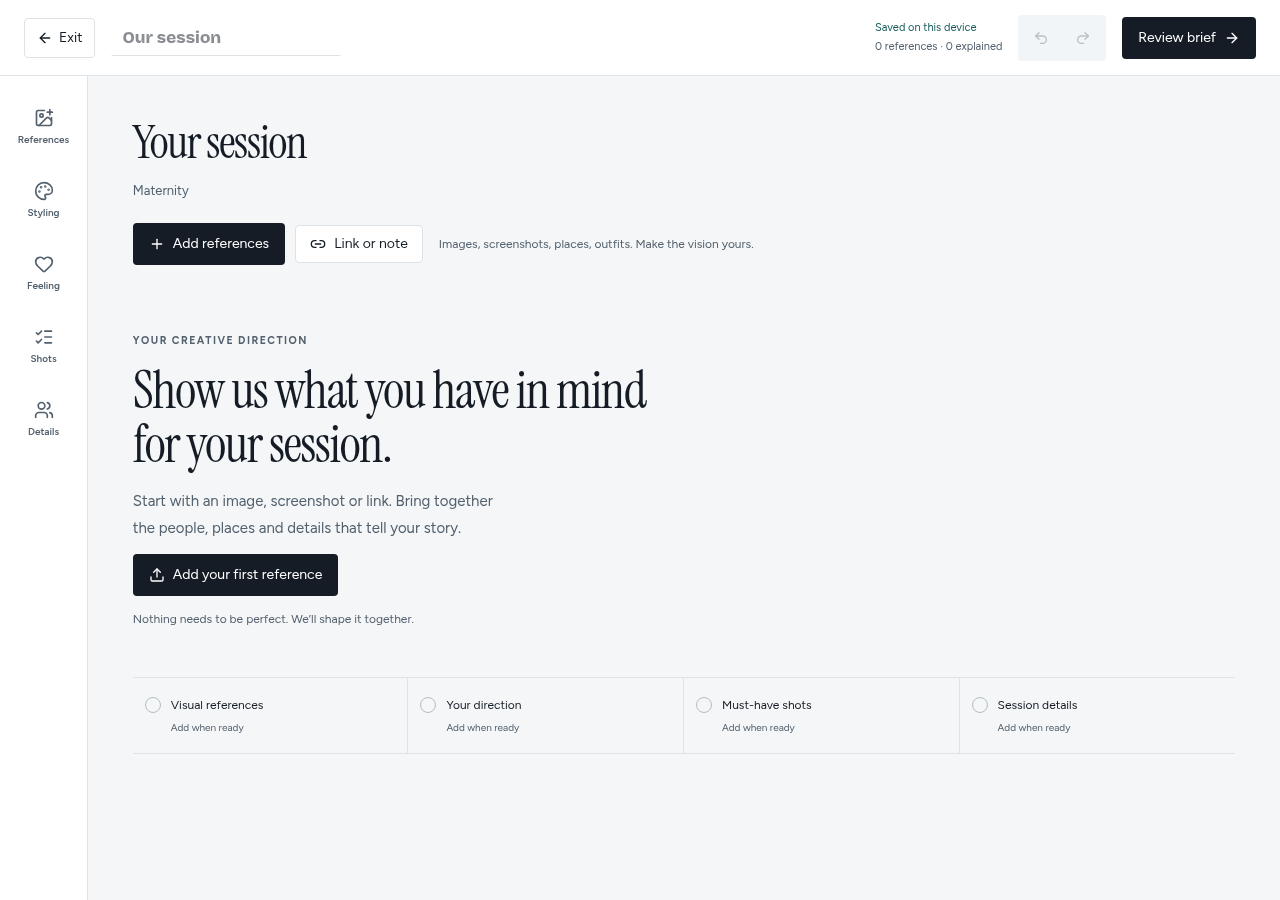
Name the board so it is easy to recognize. Add references with Add references, or choose Link or note to describe an idea without a picture. References are optional; you can still plan a useful session without them.
Use your own references. The board does not add stock examples for you.
Explain each reference
Tell us what to take, change or avoid
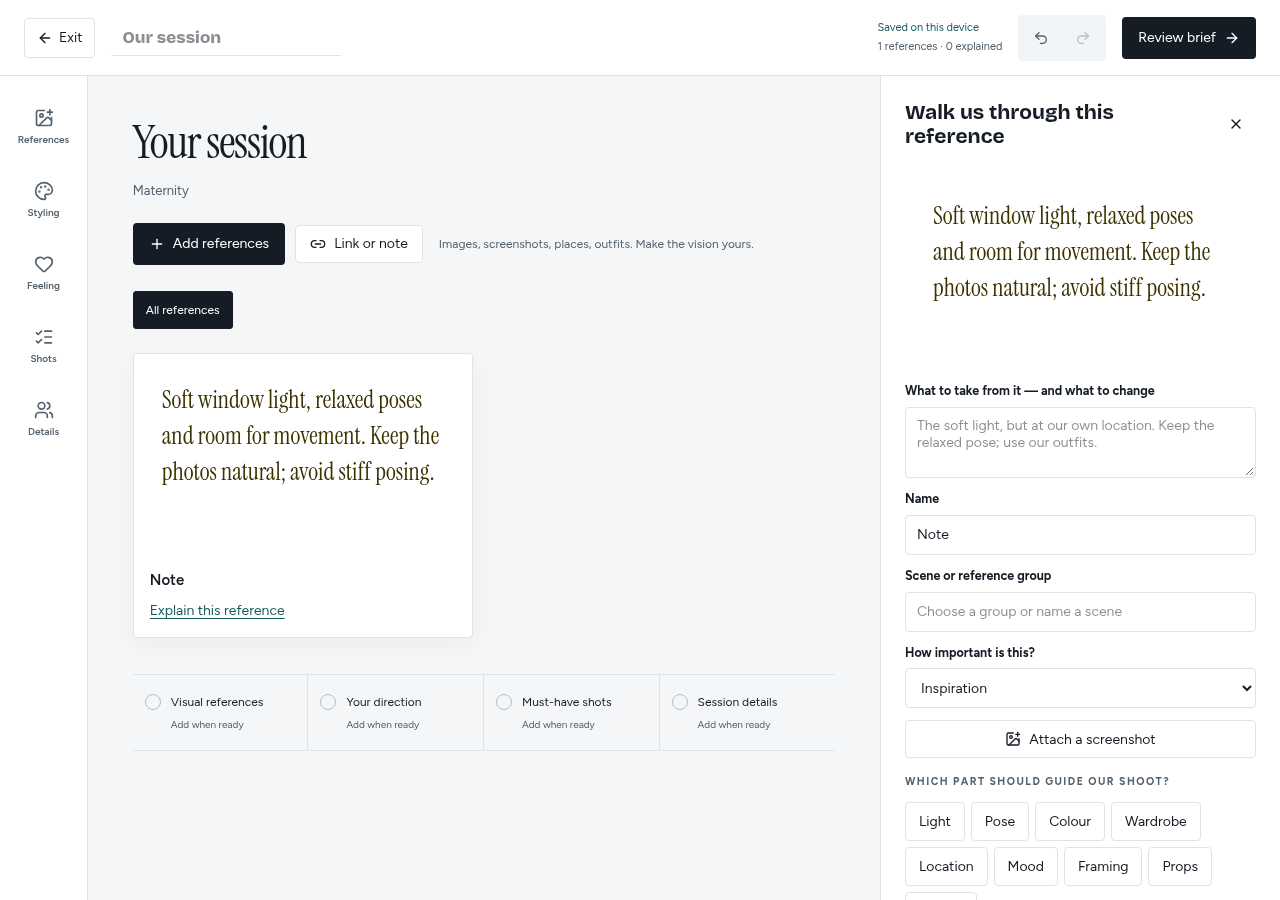
Open a reference to write its explanation. Name it, assign a scene/group, mark its importance, and select useful tags such as Light, Pose or Wardrobe. Use Mark what to avoid when the example shows something you dislike. Move earlier/later offers a non-drag ordering method. A saved link retains its source; attach a screenshot if a visual preview is needed.
Example: “Keep this light, but use our location and outfits.”
Choose the moments that matter
Use Shots to record your priorities
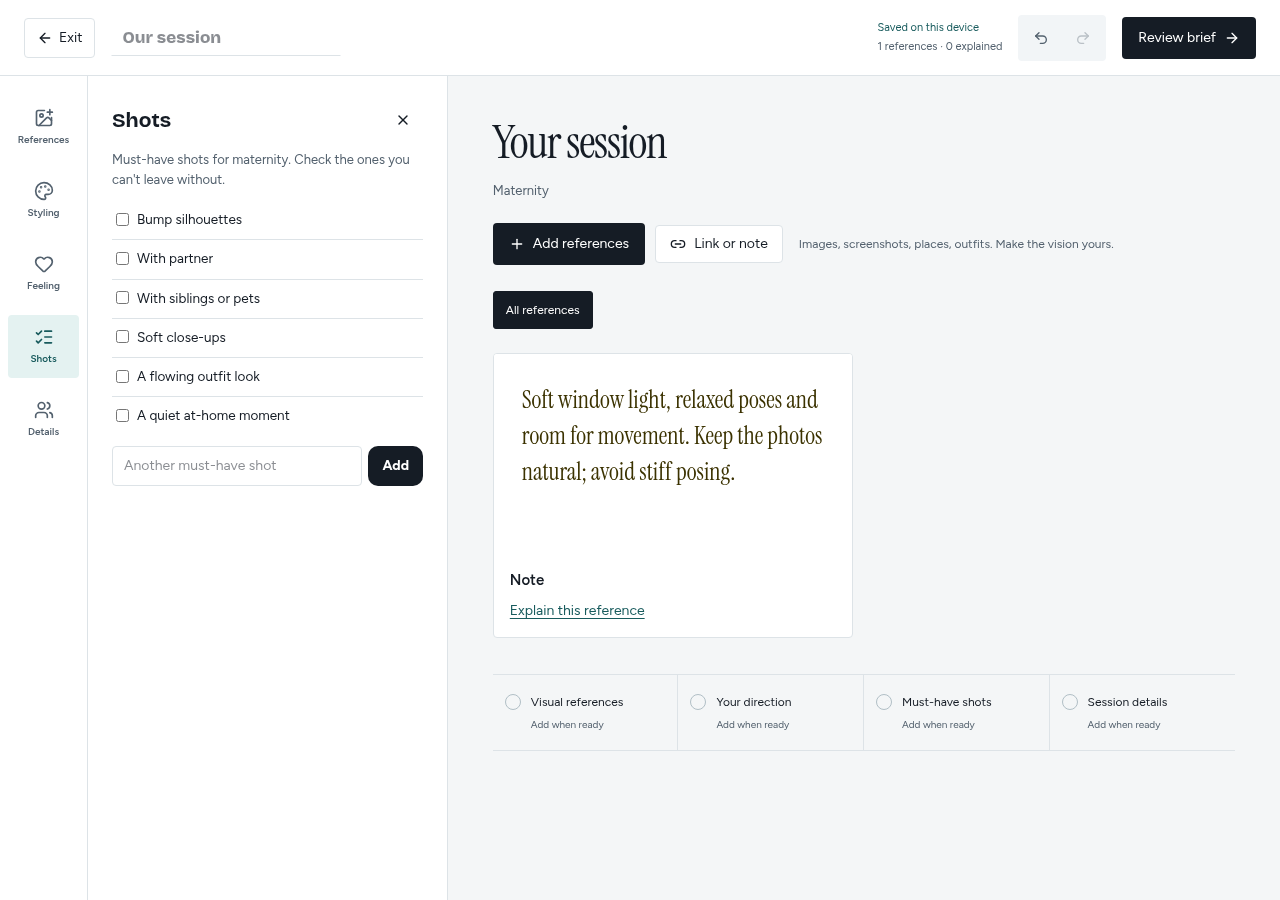
Select the suggested must-have shots and add your own. On the board, Styling records colour direction and Feeling records mood words. These are planning preferences, not a guarantee that every inspiration image can be reproduced exactly.
Include the photographs you would be disappointed to miss.
Finish the practical brief
People, place, timing and comfort
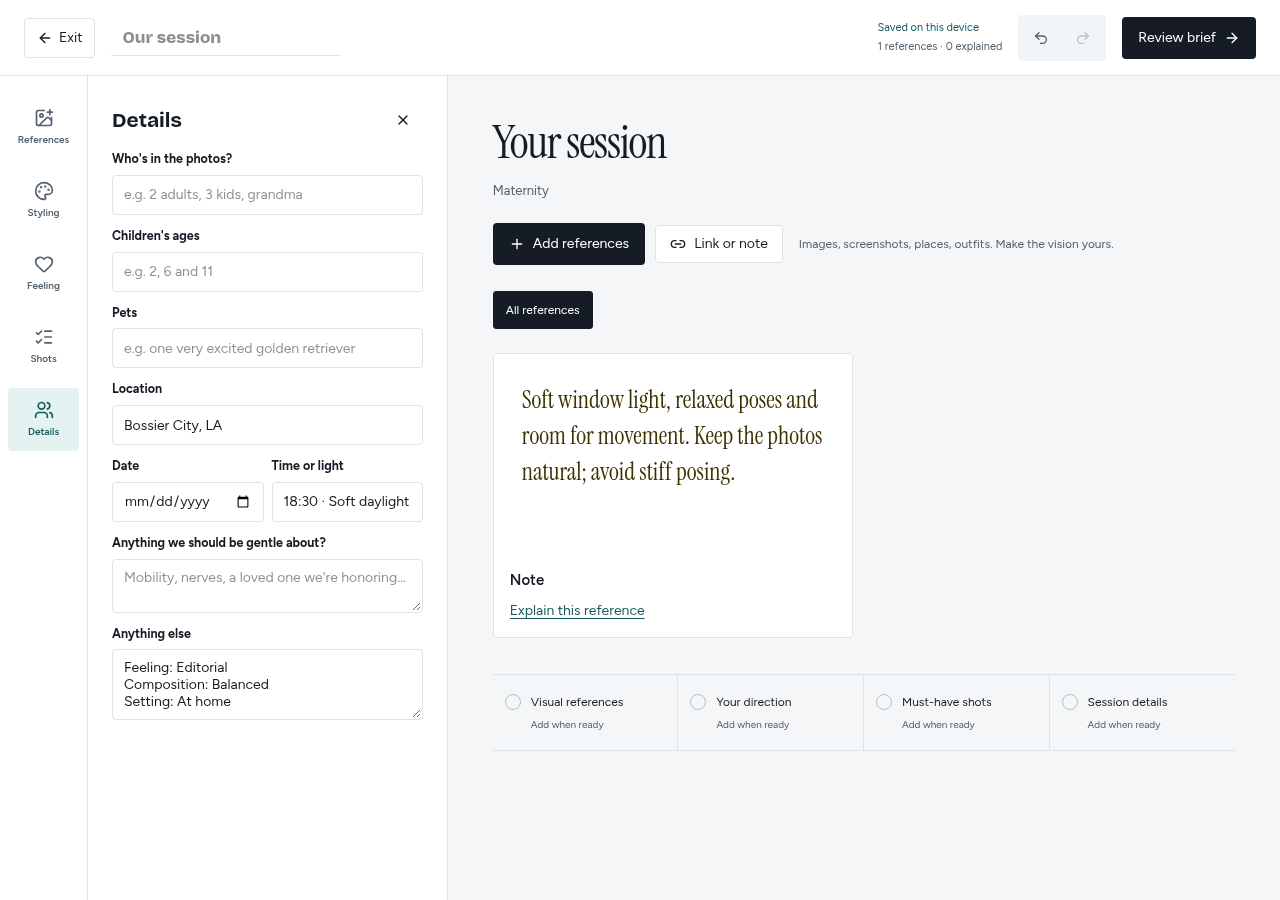
In Details, add the people, children or pets involved, location, date, time, sensitivities and notes. Tell us about accessibility needs and anything that would help everyone feel comfortable. A studio is not owned by LVW; a local rental may be explored with sufficient notice, availability and a separately approved cost. Tell LVW what is uncertain, sensitive or subject to access approval. Avoid patient information, private records or other confidential material in a planning reference.
Specific constraints help us propose a realistic plan.
Review before you send
Check the combined creative brief
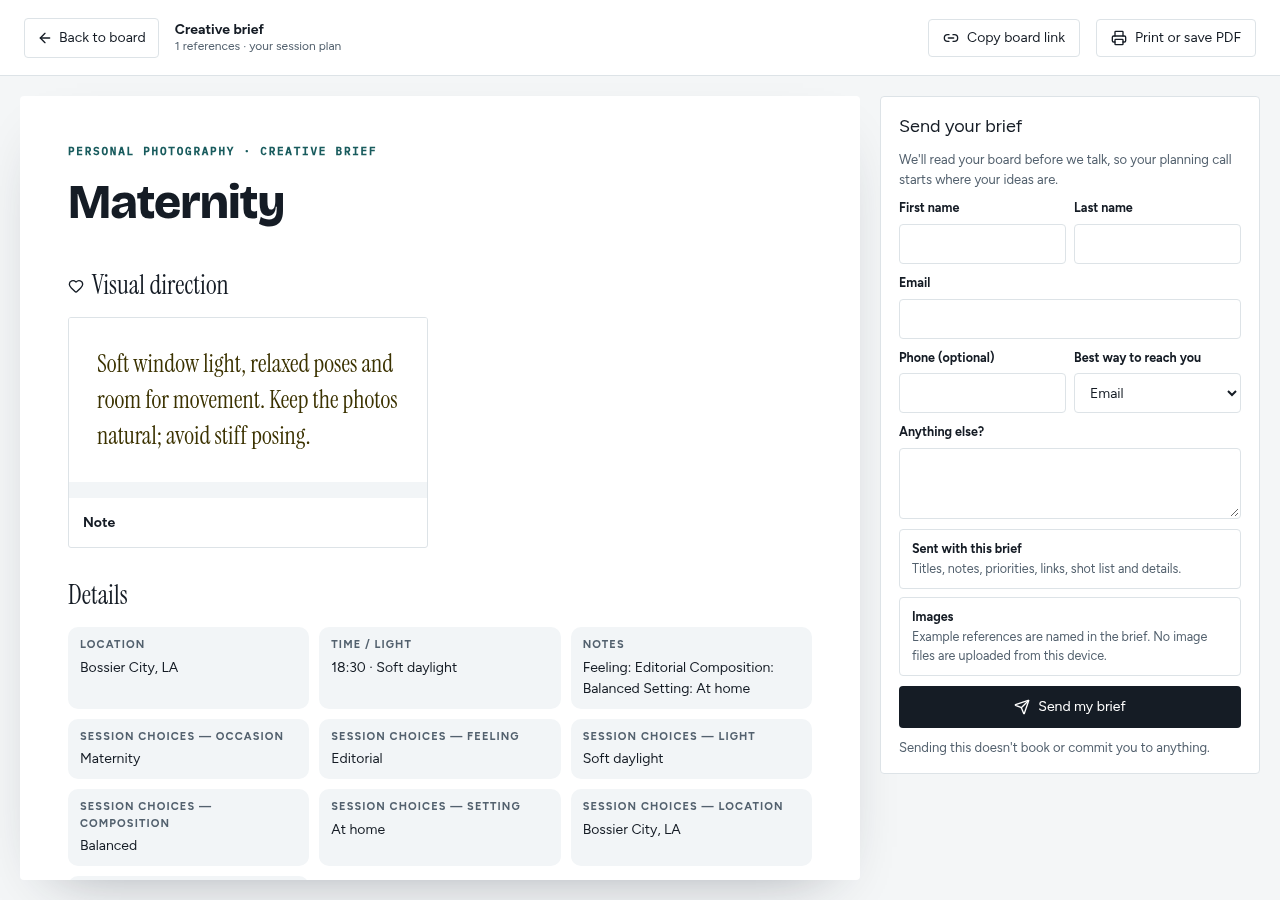
Select Review brief. Read the session choices from step one alongside your reference notes, shot list and practical details. Use Back to board to correct anything. Print or save PDF creates a portable copy; check that its images and pages are present before sharing it.
You review the whole plan before submitting once.
Send one inquiry
Your plan starts a conversation
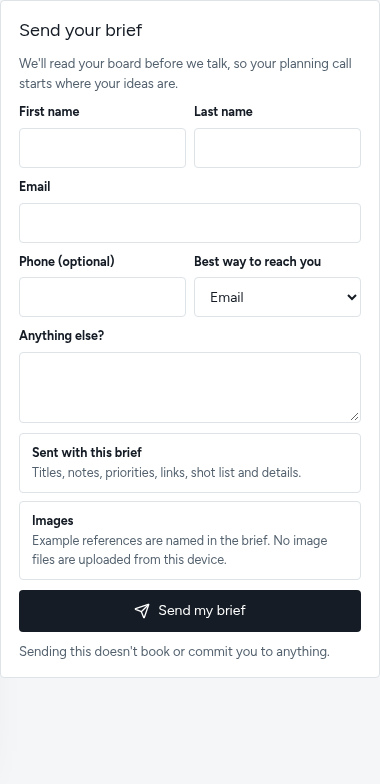
Fill in your name, email and any required organization details. Select Send my brief once. This is an inquiry, not a booking or payment. If sending fails, keep the board open, correct the issue and retry. LVW aims to respond within 36–48 hours; dates and scope are confirmed separately.
Uploaded image files stay on this device. Their explanations travel with the inquiry, but the image files do not.